
Mastering the Setup: Ensuring Your Microsoft Wireless Display Adapter Works on Windows 11
Mastering the File Explorer in Windows 11 - Tips and Tricks for a Better Experience
Windows 10 renamed the original Windows Explorer (from Windows 8) toFile Explorer, and has added tons of new features to it. As an old-time Windows operating system user, you must know what it is for. In this post, we will be introducing some ways for you to get help withFile Explorerin Windows 10 easily.
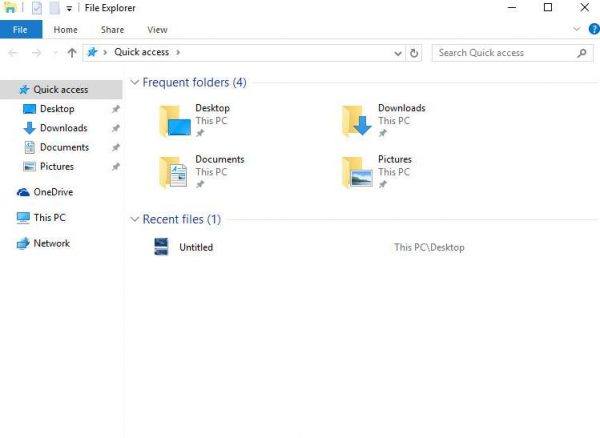
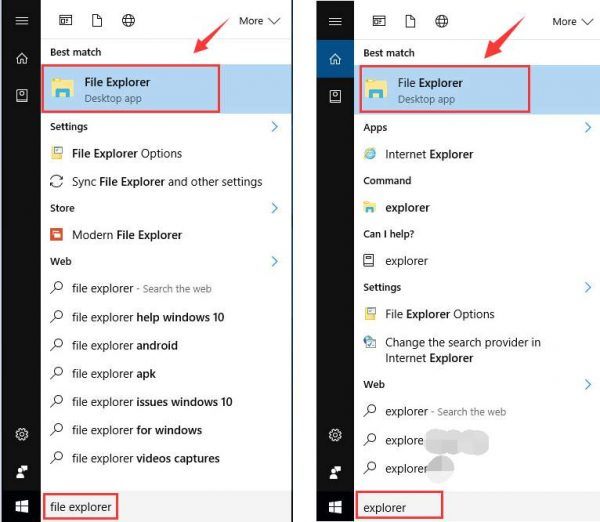
How to launch File Explorer in Windows 10 quickly? How to customize Quick access items? Windows 10 File Explorer not responding when right clicks? How to launch File Explorer in Windows 10 quickly? Usually, you can launch File Explorer by just typingexplorerorfile explorerin the search bar.
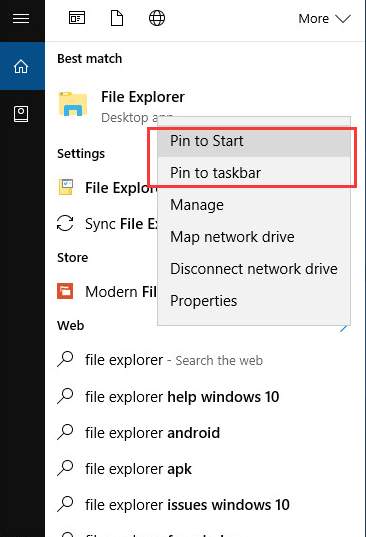
You can right click theFile Explorer option and choosePin to Start orPin to taskbar if you want to have a quicker access to it.
If you are more relied on your keyboard, here are some more shortcuts on keyboard that allows you to useFile Explorer quickly: Windows key + E: open File Explorer Ctrl + E: activate the search bar in File ExplorerAlt + left arrow key: go back to one folder in historyAlt + right arrow key: go forward to one folder in history Ctrl + mouse wheel Up or Down: increase or decrease the size of icons in File Explorer Ctrl + Shift + N: create a new folder How to customize Quick access items? If you want to add new quick access to the list on the left pane of File Explorer, here is how you can do it easily. Right click the desired folder and choosePin to Quick access.
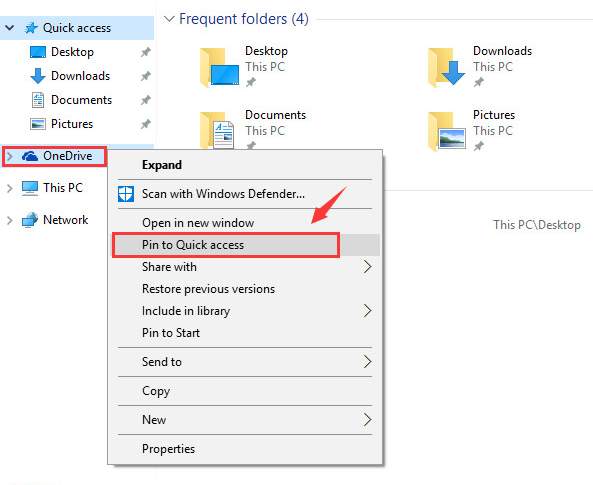
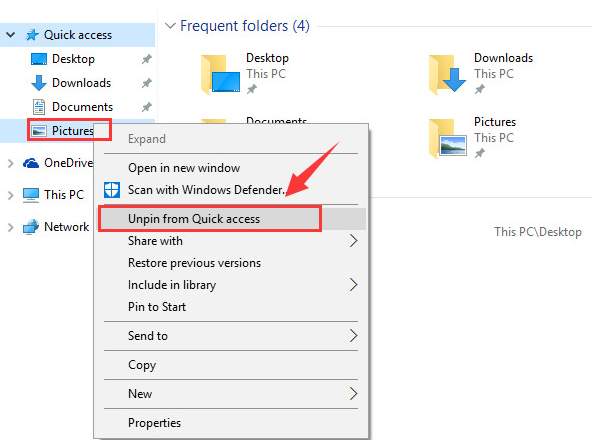
If you want to remove an item from Quick access menu, just right click this item and selectUnpin from Quick access .
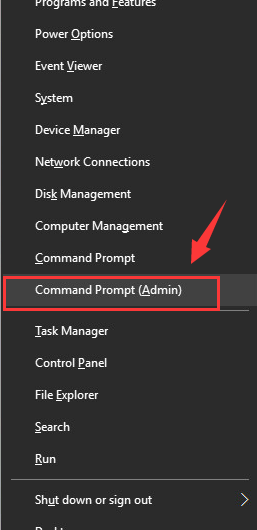
Windows 10 File Explorer not responding when right clicks? If your File Explorer is not responding when you right click it, you should follow the instructions below to get this problem fixed. 1) PressWindows keyandXat the same time, then choose**Command Prompt (Admin)**option from the list of choice.
- In the command prompt window, type in command:netsh, and then hitEnter. Then in the same window, type inwinstock resetand hitEnter.
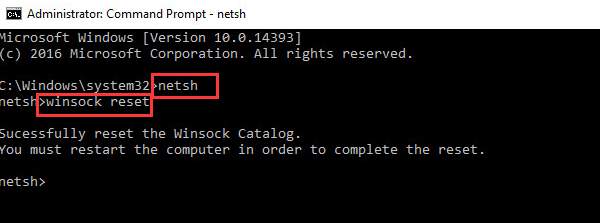
You can restart your computer when this operation is completed. 3) Follow the path:Start button > Settings > Update & security. Then one the left pane, chooseWindows Update, and on the right pane, chooseUpdate history.
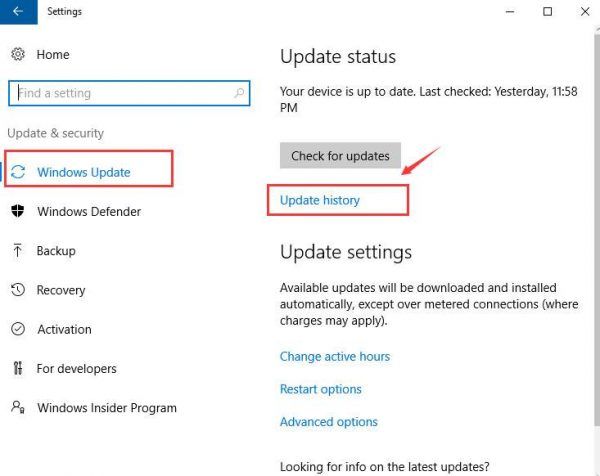
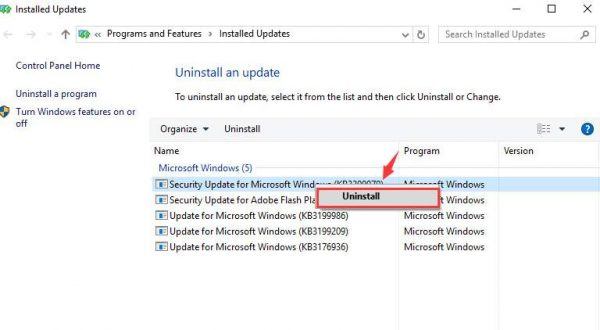
- Then chooseUninstall updates.

- If you can see updateKB3081449orKB3081448, right click it and chooseUninstall. Then restart your computer.
Also read:
- [New] 2024 Approved Navigating Backwards YouTube’s Way to Rearrange Watch Queue
- [New] Preserving YouTube Music 3 Secure, Complimentary Techniques for 2024
- [Updated] Navigate the Social Sphere 10 Techniques for Triumphant FB Growth for 2024
- 2024 Approved Easy-to-Follow Guide for Configuring Streamlabs OBS
- Co-Pilot Extension for ChatGPT: A Guide to Its Functions and Uses
- Fixes for BattlEye Installation Errors: A Comprehensive Tutorial
- HP Keyboard Malfunctions? 5 Easy Steps to Restore Functionality
- Login Blues: Overcoming Keyboard Errors During Boot Process
- NBA 2K21 Eco-Friendly Bug Fixes and Updates
- Old PS5 Vs. Slimmer: A Technological Shift
- Resolución Rápida Para Iniciar Windows 11 en La Unidad Correcta
- Runtime Rejection in Effect
- Solve 'DNS Server Not Responding': Discover 4 Easy Fixes to Restore Connectivity
- Solving the 'Unknown USB Device' Error with Port Reset Issues in Windows 10
- The Ultimate Guide to Smoothing iPhone Pics (4 Methods) for 2024
- Top 10 Decibel Upgraders for Every OS for 2024
- WWE 2K Battlegrounds Troubleshooting - Fixing DX11 Feature Level 10.0 Error
- Title: Mastering the Setup: Ensuring Your Microsoft Wireless Display Adapter Works on Windows 11
- Author: Ronald
- Created at : 2025-01-17 19:09:02
- Updated at : 2025-01-22 16:12:15
- Link: https://common-error.techidaily.com/mastering-the-setup-ensuring-your-microsoft-wireless-display-adapter-works-on-windows-11/
- License: This work is licensed under CC BY-NC-SA 4.0.