
How to Fix USB C Port Not Working on Windows Quickly
How to Fix USB C Port Not Working on Windows Quickly
From simple external hard drives to high-end laptops and the latest smartphones, we all need USB C ports a lot in our daily lives. However, what to do when the USB C port is not working?
Many laptop users are reporting that they find the USB C port is not working especially after a system update or driver update. If you’re having trouble with your USB C port, you will be able to fix it in this post.
Disclaimer: This post includes affiliate links
If you click on a link and make a purchase, I may receive a commission at no extra cost to you.
5 Fixes for USB C Problems
First, take a close look at the USB C port and make sure it has no physical damage and there is no obstruction inside it. If the USB port is still not working, you can try these fixes below. You may not need to try them all; just start at the top of the list and work your way down.
- Reinstall or update USB drivers
- Disable USB Selective Suspend
- Turn on notification for USB problems
- Make sure the charger is working
- Install Windows Updates
Fix 1. Reinstall or update USB drivers
Most Windows USB problems are driver-related. As the translator for your system and the device, the driver takes a great role in making sure your PC is working great. If the USB driver gets corrupted or outdated, the USB port may not work as expected.
To fix the problem, you might need to manuallyreinstall the USB driver yourself in Device Manager. However, this method takes time and computer skills. So if you’re not very confident in playing with device drivers yourself, you can, instead, use Driver Easy to let it do all the work for you.
You can update your drivers automatically with either the 7 days free trial or the Pro version of Driver Easy. It takes just 2 clicks, and you get full support and a 30-day money-back guarantee with the Pro version:
- Download and install Driver Easy.
- Run Driver Easy and click the Scan Now button. Driver Easy will then scan your computer and detect any problem drivers.

- Click theActivate & Update button next to the flagged device to automatically download and install the correct version of this driver.

Or click Update All to automatically download and install the correct version of all the drivers that are missing or out of date on your system (You’ll need the Pro version for this – when you select Update All, you’ll get a prompt to upgrade. If you’re not prepared to purchase the Pro version yet, Driver Easy provides a 7-day trial at no cost, granting access to all Pro features like fast downloads and easy installation. No charges will occur until after your 7-day trial period ends.)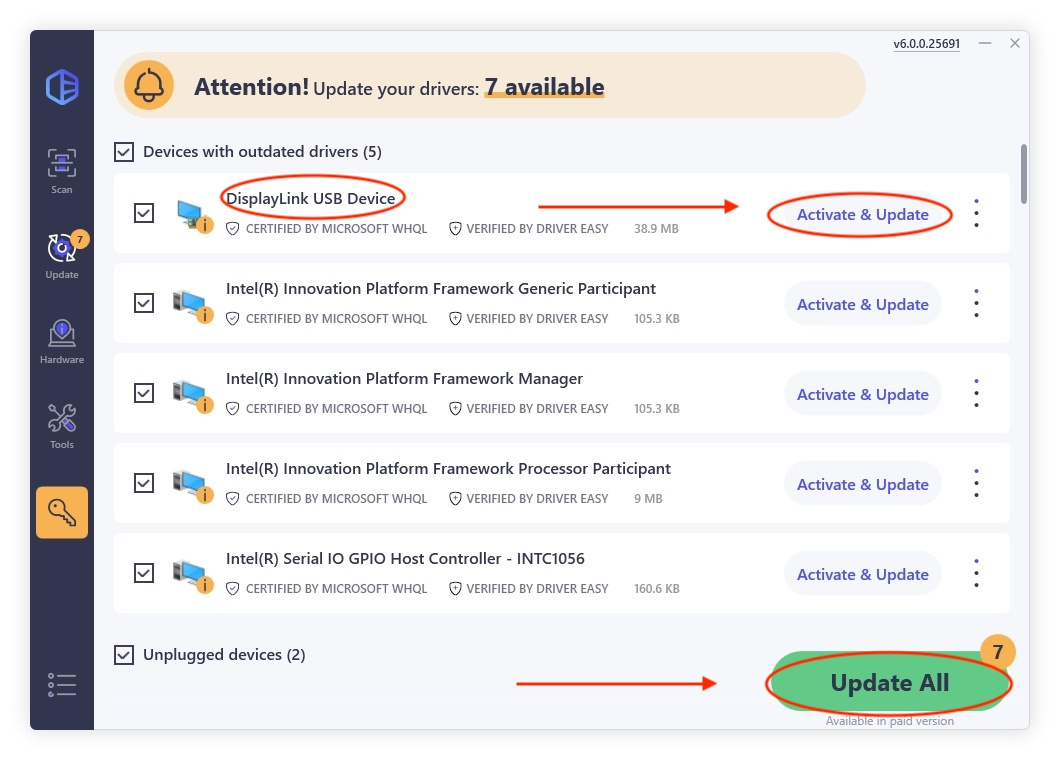
4. After updating, restart your computer to take effect.
The Pro version of Driver Easy comes with full technical support.
If you need assistance, please contact Driver Easy’s support team at [email protected] .
Fix 2. Disable USB Selective Suspend
It’s possible that your PC prevents the USB C from working to save power. In that case, you will need to change the power management settings — disable the USB Selective Suspend and check if your USB C is working again.
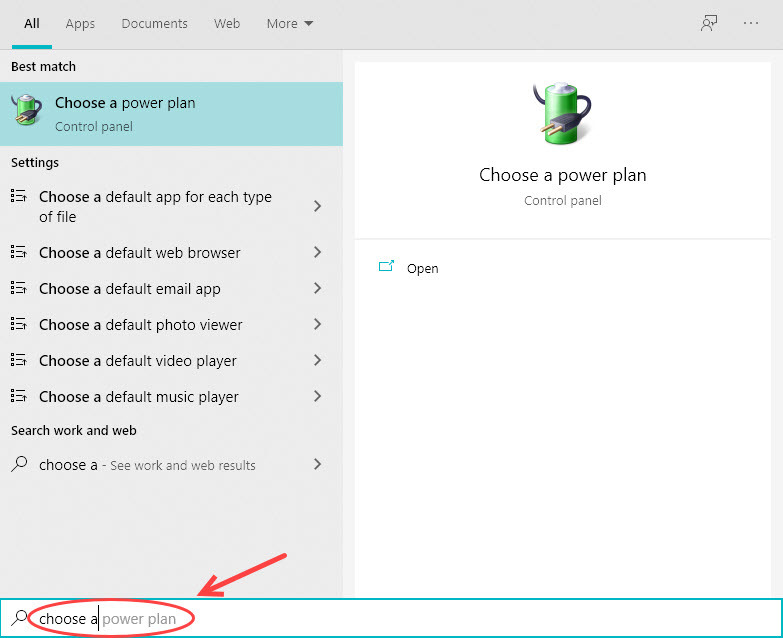
- On your keyboard, press the Windows + S key at the same time to open the Search box.
- Enterchoose a and selectChoose a power plan .
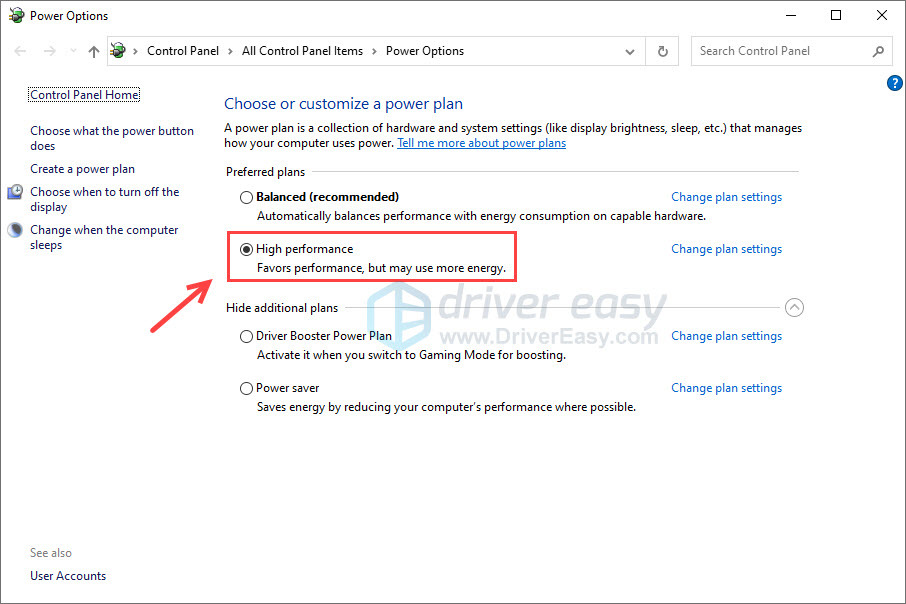
- SelectHigh Performance orUltimate (if this option is available).
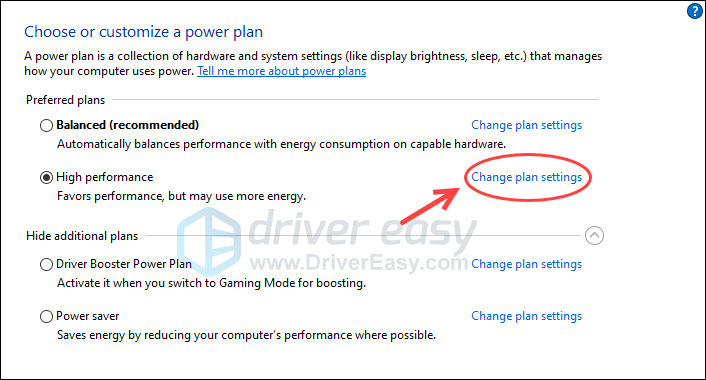
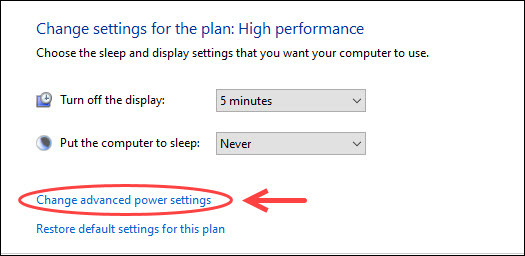
- ClickChange plan settings .
5. ClickChange advanced power settings .
6. Double click USB settings , then double click USB selective suspend setting .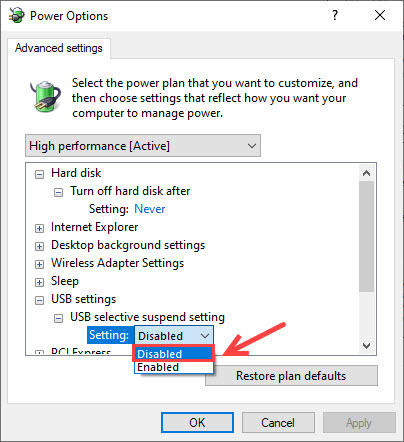
Note: If you’re using a laptop, click On battery , then click Disabled from the drop-down menu.
7. ClickApply >OK .
Fix 3. Turn on notification for USB problems
If the methods above failed to solve your problem, you might need to turn on the notification so that you can better troubleshoot the issue. Usethis link to open the USB Notification.
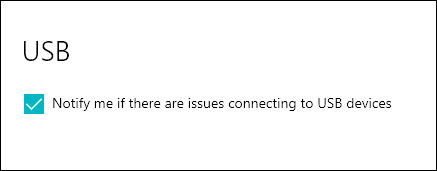
Now you can receive error messages when you’re having trouble connecting your devices with the USB C port.
Fix 4. Make sure the charger is working
Another likely reason for USB-C not working on Windows 10 could be insufficient PC charging . To avoid this, you should use the charger and cable included with your PC.
If this didn’t work, you can remove your laptop battery and press the power button for 30 seconds or longer.
This will make sure the capacitors discharge completely. Leave your laptop for 3~5 minutes (although we recommend turning off your laptop without a battery over the night), and check to see if the USB is working again.
Fix 5. Install Windows Updates
Although less likely, there is a chance that updating your system could solve your USB port problems. Press the Windows + R to open the Search box and enter check, and then selectCheck for updates .
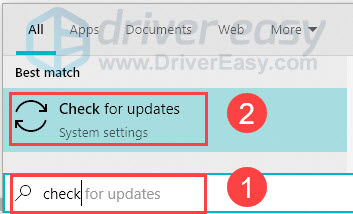
Check for updates and it will download and install available updates for you.
If your USB-C is not working, the most common causes are corrupt/ outdated drivers, power supply, and sometimes your Windows version. Did you find this post helpful? Feel free to drop us a line if you have any questions.
Also read:
- [New] Your Go-To for Epic Virtual Escapades for 2024
- [Updated] Expert Techniques for Zoom-Enhanced Videoleap Capture
- [Updated] Precision Videoplayers for High Definition on Android
- Comprehensive Strategies for Repairing Windows RPC Server Connection Problems Quickly
- How to Overcome the Windows Camera Malfunction (Error 0Xa00f4292) Easily
- In 2024, 3 Strategies for TikTok Livestreaming From Desktop
- Resolving Spontaneous Computer Outages - A Comprehensive Guide
- Ultimate Guide: Solving the Puzzle of Twitch Error Code 4000
- Where Is the Best Place to Catch Dratini On Realme C33 2023 | Dr.fone
- Title: How to Fix USB C Port Not Working on Windows Quickly
- Author: Ronald
- Created at : 2024-09-25 01:54:01
- Updated at : 2024-10-01 23:20:14
- Link: https://common-error.techidaily.com/how-to-fix-usb-c-port-not-working-on-windows-quickly/
- License: This work is licensed under CC BY-NC-SA 4.0.