
Expert Tips on Correcting the 'LiveKernelEvent Error 117'
Effortless Ways to Prevent Your PC From Snoozing Unexpectedly
Computer keeps going to sleep? Don’t worry. This is one of the common issues in Windows 10 and Windows 7. You can fix it easily with one of the solutions below.
We’ve put togetherfive solutions below for you to fix the problem. You may not have to try them all; just work your way down until you find the one that works for you.
- Check the power settings
- Update the graphics card driver
- Disable the screen saver
- Change the System unattended sleep timeout to a longer time
Solution 1: Check the power settings
If your power settings are configured to sleep in a short time, for example, 5 minutes, you’ll experience the computer keeps going to sleep issue. To fix the problem, the first thing to do is check the power settings, and change the settings if necessary. To do so:
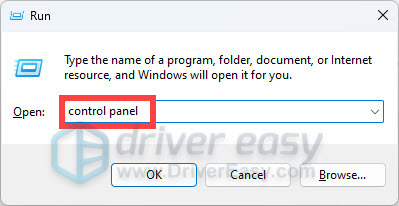
- On your keyboard, press theWindows logo + R keys simultaneously to open the Run box.
- Typecontrol panel and press Enter.

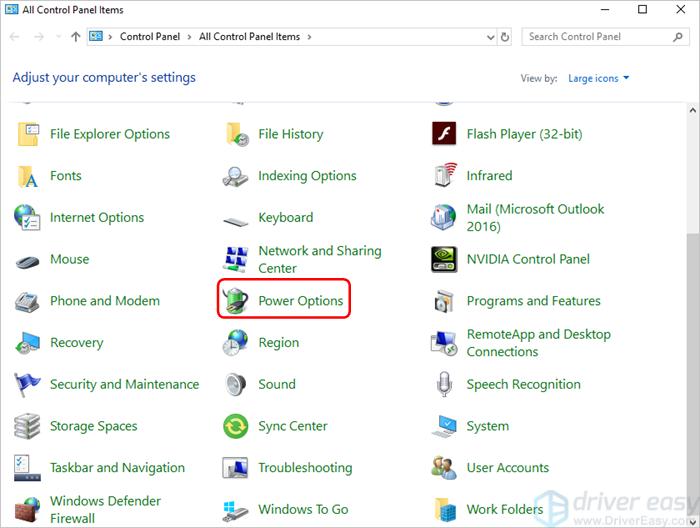
- View by Large icons , and click Power Options .
- ClickChange when the computer sleeps in the left pane.
- Choose the sleep and display settings that you want your computer to use.


4a) Change theTurn off the display setting to whatever value you desire. You don’t have to set it to Never if you don’t want to.
4b) Change thePut the computer to sleep setting to whatever value you desire. It’s recommended to set it toNever .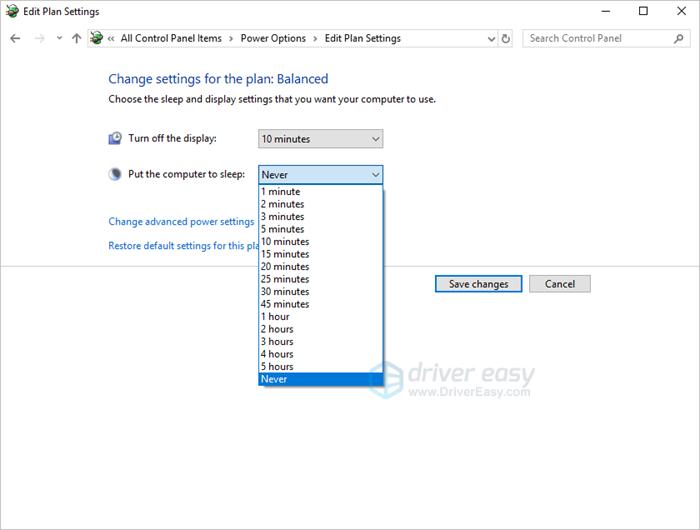
6. ClickSave changes .
7. Check to see if the computer still keeps going to sleep.
Solution 2: Update the graphics card driver
The computer keeps going to sleep issue can be caused by the faulty or outdated graphics card driver, especially if you have a high-end graphics card installed. To fix the problem, you can try to update the graphics card driver.
If you don’t have the time to update the graphics card driver manually, you can do it automatically withDriver Easy . Driver Easy will automatically recognize your system and find the correct drivers for it. You don’t need to know exactly what system your computer is running, you don’t need to risk downloading and installing the wrong driver, and you don’t need to worry about making a mistake when installing.
You can update your drivers automatically with either the FREE or the Pro version of Driver Easy. But with the Pro version, it takes just 2 clicks (and you get full support and a30-day money-back guarantee ):
- Download and install Driver Easy.
- Run Driver Easy and clickScan Now . Driver Easy will then scan your computer and detect any problem drivers.
- Click theUpdate button next to a flagged graphics card driver to automatically download the correct version of this driver, then you can manually install it (you can do this with the FREE version).
Or clickUpdate All to automatically download and install the correct version of all the drivers that are missing or out of date on your system (this requires thePro version – you’ll be prompted to upgrade when you click Update All). - Check to see if your computer keeps going to sleep.


Solution 3: Disable the screen saver
The screen saver is the utility built in Windows. It will be activated after a certain period of Windows inactivity. If the screen saver is set to blank, and the wait time is 5 minutes, it’ll look like your screen has turned off or gone to sleep mode. So you can disable the screen saver and see if the problem persists.
You can follow the steps below to disable the screen saver. The steps depend on the Windows version your computer is running. We show the steps for Windows 10 and Windows 7 below.
For Windows 10:
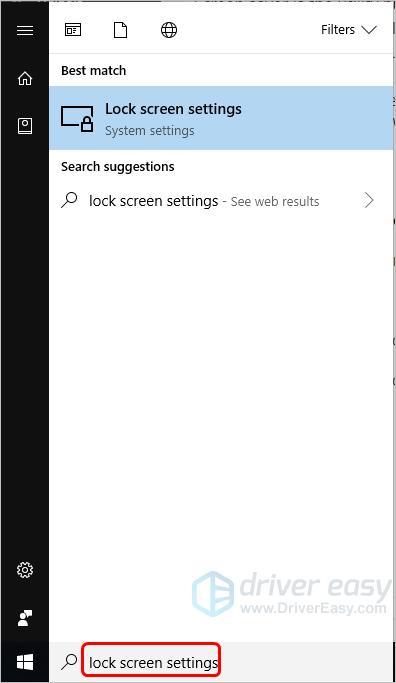
- Press
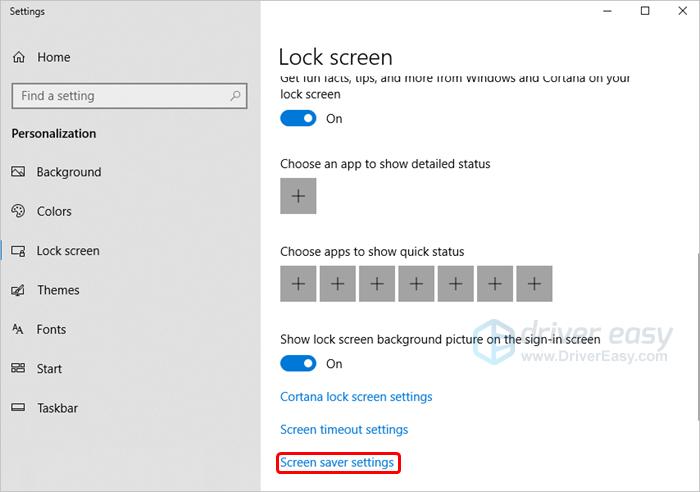
Win+R(the Windows logo key and the R key) on your keyboard to bring up the Start menu. - Typelock screen settings in the search bar and selectLock screen settings .
- ClickScreen saver settings at the bottom of the window.
- SetScreen saver toNone .
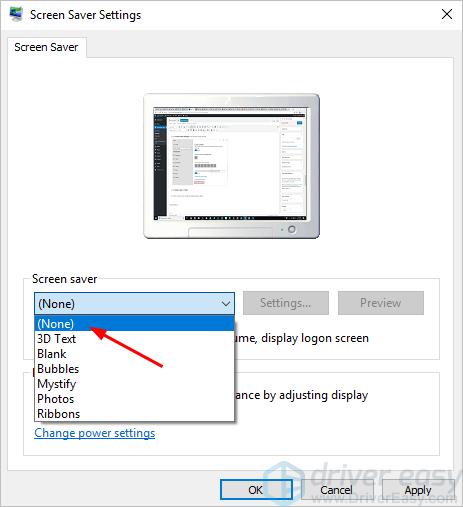
5. Check to see if your computer keeps going to sleep.
For Windows 7:
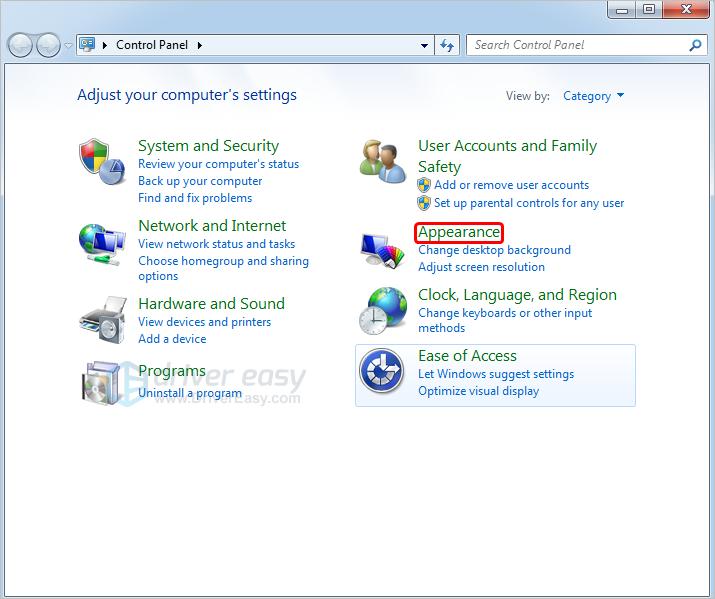
- OpenControl Panel .
- View by Category , and clickAppearance and Personalization (In some cases, this could beAppearance .).
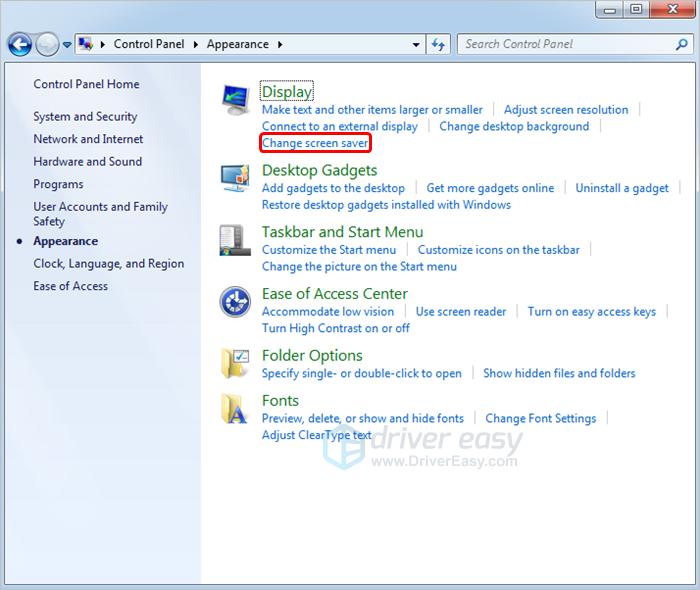
- Click theChange screen saver button.
- SetScreen saver toNone .

5. Check to see if your computer keeps going to sleep.
Solution 4: Change the System unattended sleep timeout to a longer time
If the above solutions don’t work for you, you can try to set the System unattended sleep timeout to a longer time. The option is invisible in Windows by default. You need to edit the registry to make it visible first, then you can reset the period.
Firstly, edit the registry to make the System unattended sleep timeout option visible.
Modifying the registry incorrectly may cause serious system issues. Make sure you follow the steps carefully. Before you modify the registry, you can back it up first, so you can restore it if you want. SeeHow to Back Up and Restore Registry .
- OpenRegistry Editor .
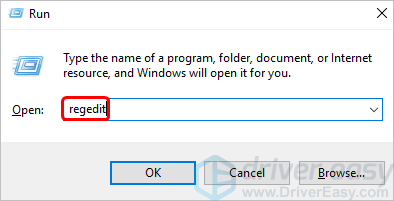
1a) On your keyboard, press theWin+R (the Windows logo key and the R key) at the same time to invoke the Run box.
1b) Type**regedit** and clickOK . Then the Registry Editor window will pop up.
2. Navigate to the following directory:
[HKEY_LOCAL_MACHINE\SYSTEM\CurrentControlSet\Control\Power\PowerSettings\238C9FA8-0AAD-41ED-83F4-97BE242C8F20\7bc4a2f9-d8fc-4469-b07b-33eb785aaca0]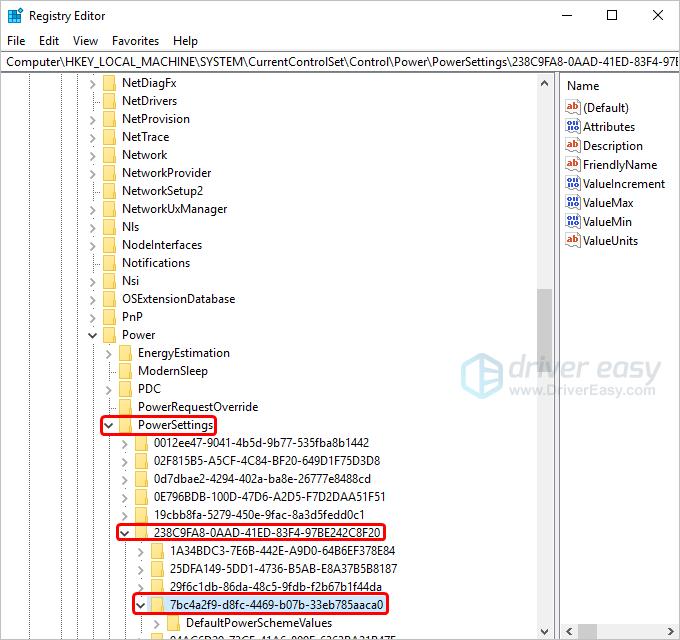
3. In the right pane, double-click onAttributes to modify it.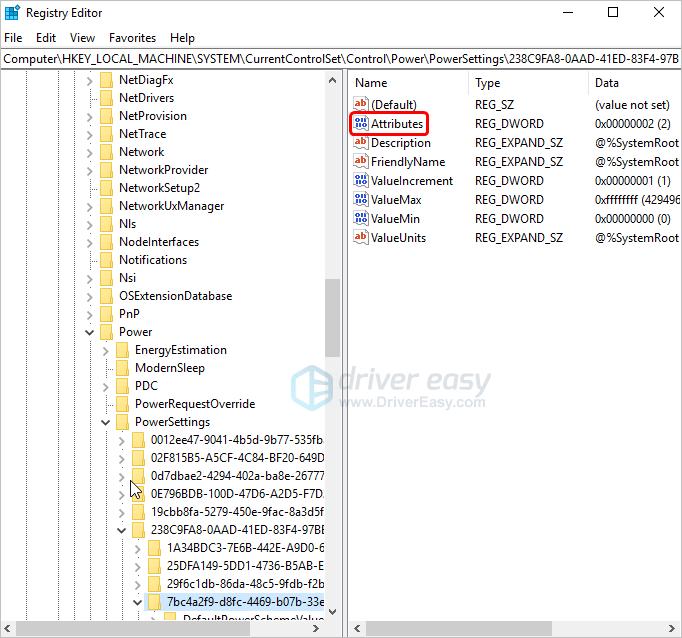
4. Change theValue data to2 . The default Value data is probably 1. Whatever the Value data is, just change it to 2.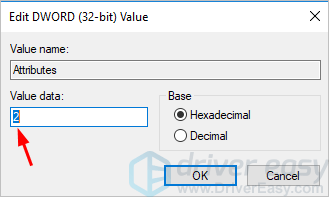
5. Click theOK button.
- Exit the Registry Editor.
Secondly, reset the System unattended sleep timeout period.
OpenControl Panel again.
View by Large icons , and clickPower Options .
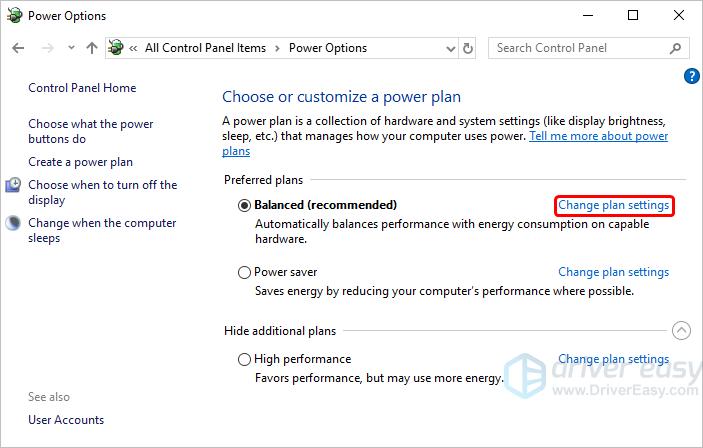
Click the Change plan settings under your selected power plan.
In my case, the selected settings is Balanced, so I click on Change plan settings next to it.Click onChange advanced power settings .
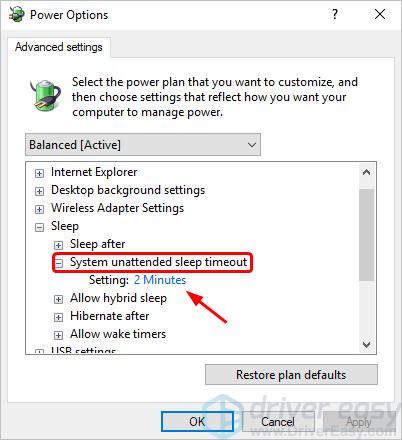
Expand the entrySleep , then expand the entrySystem unattended sleep timeout . The value for this setting will probably be set to 2 minutes –change it to a longer time , for example, 30 minutes.
6. ClickOK to save the changes.
7. Check to see if the computer keeps going to sleep.
Hopefully, the solutions above help you resolve the computer keep-going-to-sleep problem. If you have any questions, ideas, or suggestions, feel free to leave your comments.
Also read:
- [New] Unlocking the Power of IGTV From Novice to Pro
- 2024 Approved Navigating the World of GoPro and Time-Lapse Shooting
- 2024 Approved Scripted Temporal Displacements in Film Production
- Bring Life Back to Your Console: Troubleshooting a Dead PS4 Dualshock Charge
- Clearing Up: Overcoming the Domain Services Printer Error on Windows OSes
- Fix Successful for 'New World': Addressing the Easy Anti-Cheat Problems
- Here are Some of the Best Pokemon Discord Servers to Join On Huawei Nova Y71 | Dr.fone
- How Can I Fix a Buffering, Laggy Video Stream: Insights From YL Computing's Expertise
- In 2024, Top 10 Oppo Find N3 Flip Android SIM Unlock APK
- My Videos Arent Playing on Nokia 105 Classic – What Can I Do? | Dr.fone
- Resolved: Miracast Functionality Restored After Fixing Graphics Driver Issue
- Rise Up - with Wings Like Eagles | Free Book
- Solving the PnP_UDF_DEVICE_NOT_FOUND Issue: A Guide to Troubleshooting Error 0xC0000098 in Windows
- Stabilizing Windows 10 Screen Behavior
- The Looming Departure of Unreal in the Wake of D3D Loss
- The Ultimate Fix Guide for the 0X800705b4 Error During Windows 11 Updates [Solved]
- The Ultimate Guide to Turning On Bluetooth in Windows 7
- Troubleshooting and Solutions for Remote Server Connection Issues
- Windows 10 Missing Charge Indicator? Easy Fix Guide
- Title: Expert Tips on Correcting the 'LiveKernelEvent Error 117'
- Author: Ronald
- Created at : 2025-02-09 20:12:03
- Updated at : 2025-02-10 22:57:36
- Link: https://common-error.techidaily.com/expert-tips-on-correcting-the-livekernelevent-error-117/
- License: This work is licensed under CC BY-NC-SA 4.0.