Expert Tips for Repairing Broken USB Connections in the Latest Windows Operating Systems
Troubleshooting Guide for Windows 7-10: Understanding Event ID 1Among Various Operating Systems
If you’re looking for a solution to the application error with the event ID 1000, you’ve come to the right place. Here are 5 fixes you can try to fix this problem quickly and easily.
Try these fixes
You may not have to try them all. Just work your way down the list until you find the one that works for you.
- Update your drivers
- Check for Windows Updates
- Scan for malware on your computer
- Perform a clean boot
- Run the Command Prompt
Fix 1: Update your drivers
Updating drivers should always be your go-to option when something goes wrong with your computer or system. Whether you choose to update the device drivers manually, using Windows Update, or you use a trusted third party product, it’s essential that you have the latest correct device drivers for your operating system at all times.
There are two ways you can update your drivers:
Option 1 – Manually – You’ll need some computer skills and patience to update your drivers this way, because you need to find exactly the right driver online, download it and install it step by step.
OR
Option 2 – Automatically (Recommended) – This is the quickest and easiest option. It’s all done with just a couple of mouse clicks – easy even if you’re a computer newbie.
Option 1 – Download and install the driver manually
The manufacturers of your hardware keep updating drivers. To get them, you need to go to each manufacturer’s website, find the driver corresponding with your specific flavor of Windows version (for example, Windows 32 bit) and download the driver manually.
Once you’ve downloaded the correct driver for your system, double-click on the downloaded file and follow the on-screen instructions to install the driver.
Option 2 – Automatically update your drivers
If you don’t have the time, patience or computer skills to update drivers manually, you can do it automatically with Driver Easy .
Driver Easy will automatically recognize your system and find the correct drivers for it. You don’t need to know exactly what system your computer is running, you don’t need to risk downloading and installing the wrong driver, and you don’t need to worry about making a mistake when installing.
You can update your drivers automatically with either the FREE or the Pro version of Driver Easy. But with the Pro version it takes just 2 clicks:
1)Download and install Driver Easy.
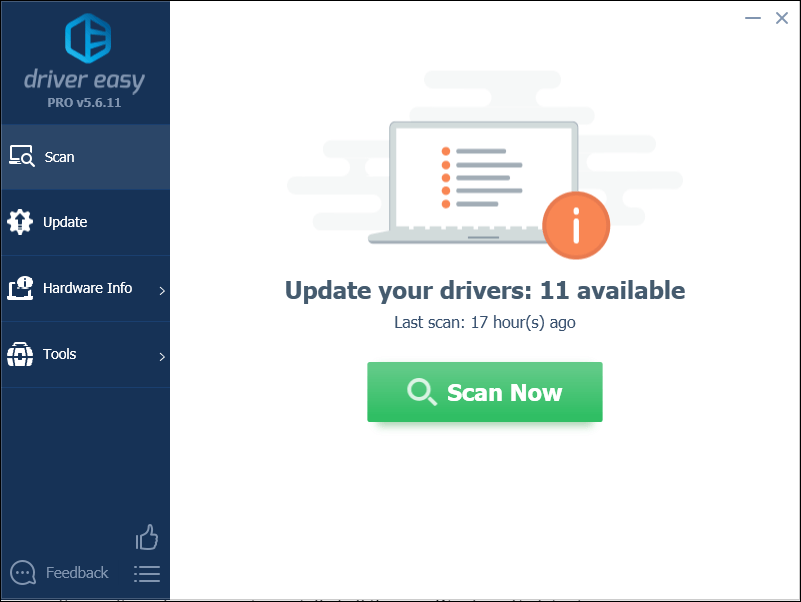
2) Run Driver Easy and click theScan Now button. Driver Easy will then scan your computer and detect any problem drivers.
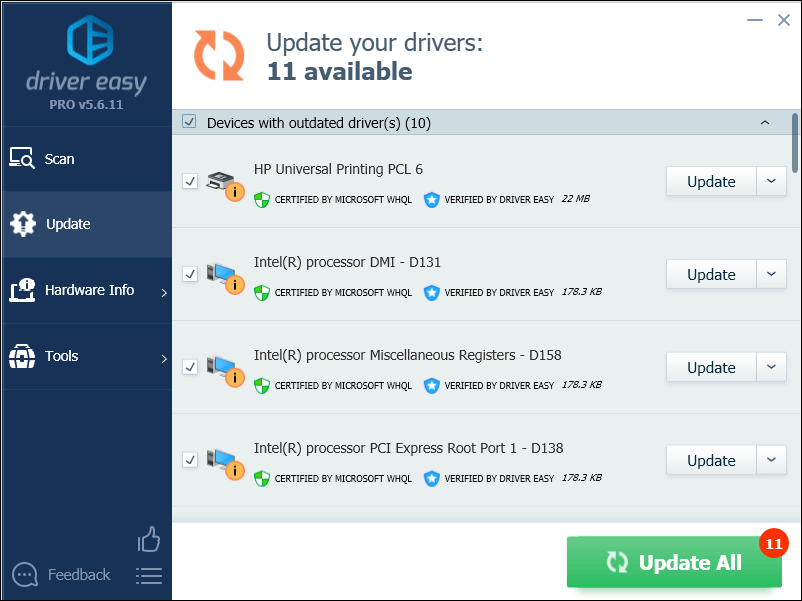
3) ClickUpdate All to automatically download and install the correct version of all the drivers that are missing or out of date on your system (this requires the Pro version – you’ll be prompted to upgrade when you click Update All).
If you need assistance, please contact Driver Easy’s support team at[email protected] .
Fix 2: Check for Windows Updates
Windows Updates can also address bugs related to both hardware and software. So make sure you’ve installed all the new Windows Updates to keep your computer running smoothly. Here is how to do it:
The screens shown below are from Windows 10, but the method also applies to Windows 7 and 11 too.
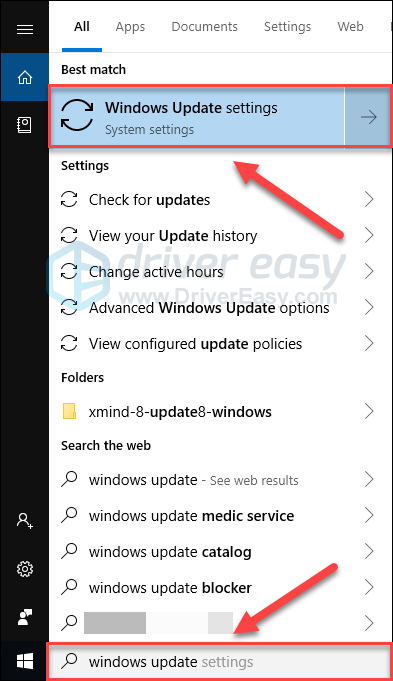
1) On your keyboard, press the Windows logo key. Then, type windows update and select Windows Update settings .
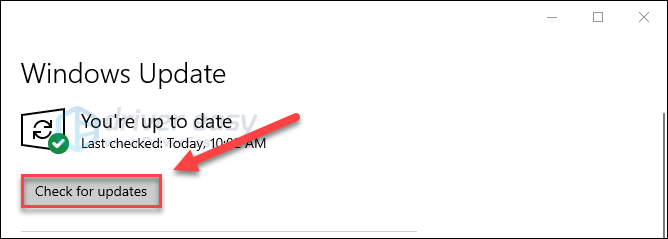
2) Click Check for updates, and then wait for Windows to download and install the updates automatically.
3) Restart your computer.
If your problem still exists after you update your computer, read on and try the fix below.
Fix 3: Scan for malware on your computer
Malicious software on your computer, including viruses, spyware, and ransomware, can also cause application errors. So, you should run your malware remover to detect if there is any malware running on your computer.
If you don’t have any malware remover installed on your computer, try installing Malwarebytes . It can detect and fix computer problems caused by malware automatically.
You can now save money at Malwarebytes by using one of the current Malwarebytes coupons! Click to get Malwarebytes discount coupons , then you’ll be redirected to the Malwarebytes homepage.
1) Download and install Malwarebytes.
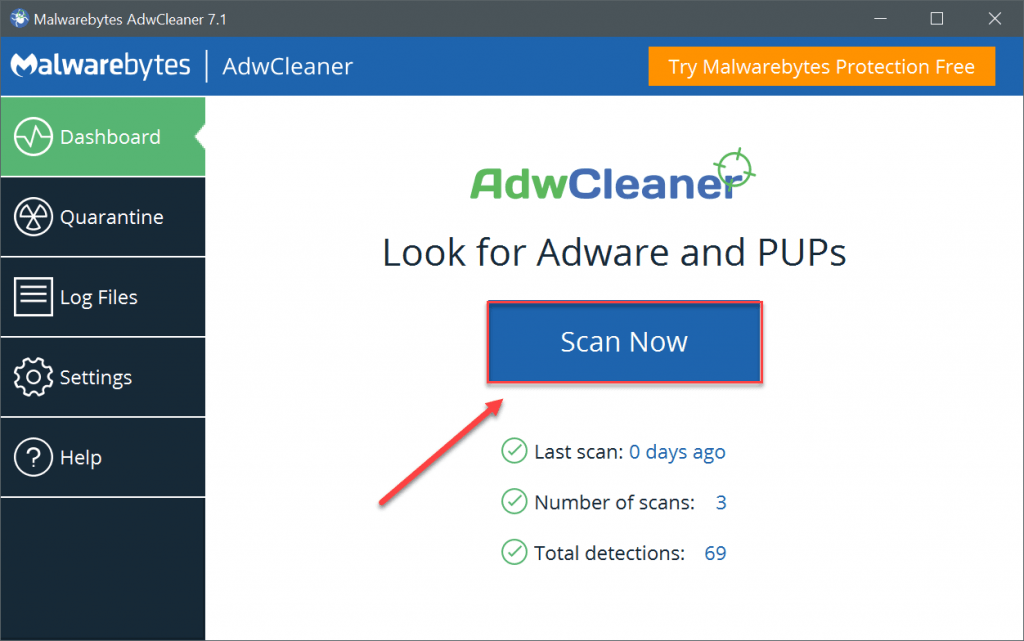
2) RunMalwarebytes, and then click theScan Now button to start scanning your computer.
3) Wait for the process to be complete. If there is any malware on your computer, follow the on-screen instructions to remove it.
If no malware is detected, that means your problem is not caused by malware. Try the fix below.
Fix 4: Perform a clean boot
Some services or programs running on your computer may conflict with certain applications on your computer resulting in application errors. To see if that’s the problem for you, try performing a clean boot. Here is how:
If you’re on Windows 7…
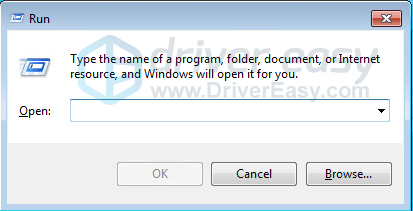
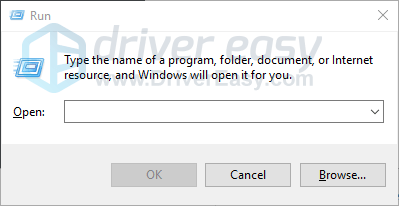
1) On your keyboard, press theWindows logo key andR at the same time to open the Run dialog box.
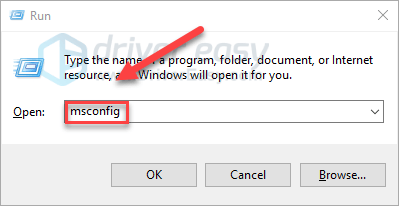
2) Typemsconfig . Then, on your keyboard, press theEnter, Shift andCtrl keys at the same time to run System configuration as administrator.

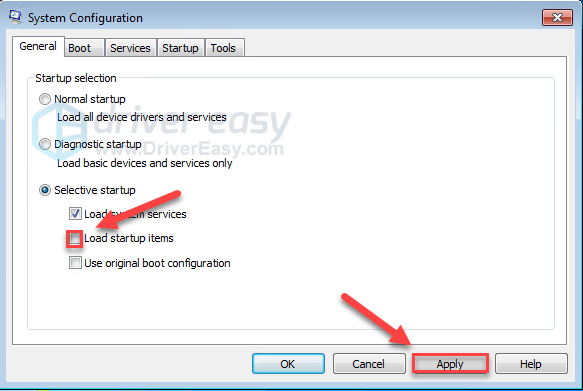
3) Uncheck the box next toLoad startup items . Then clickApply .
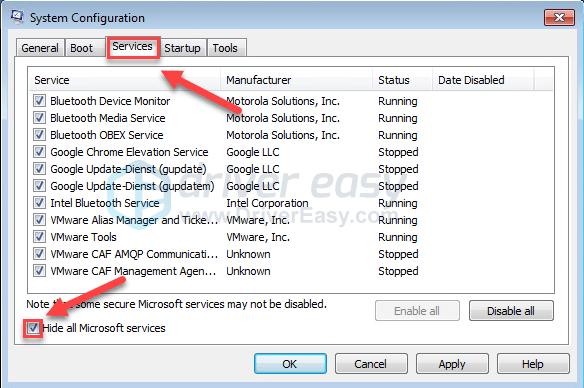
4) Click theServices tab, and then check the box next toHide all Microsoft services .
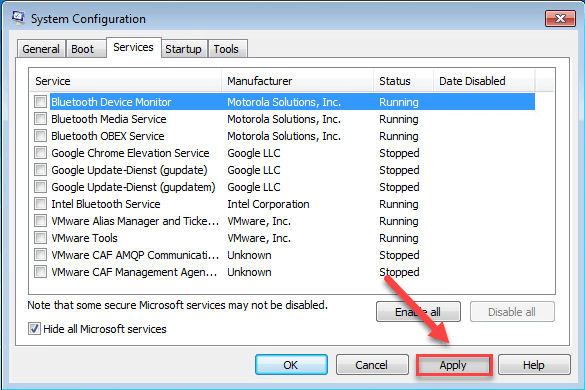
5) ClickDisable all .
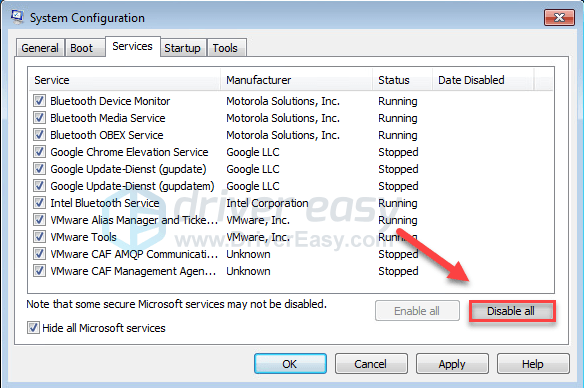
6) ClickApply .
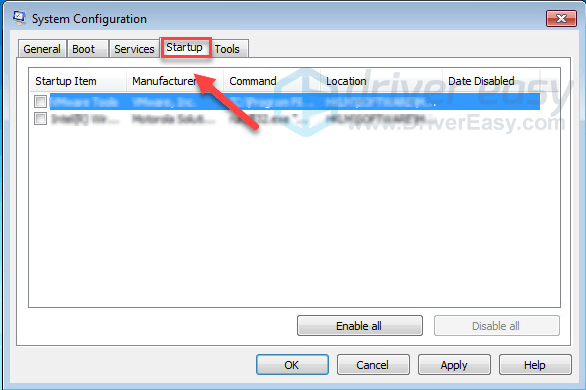
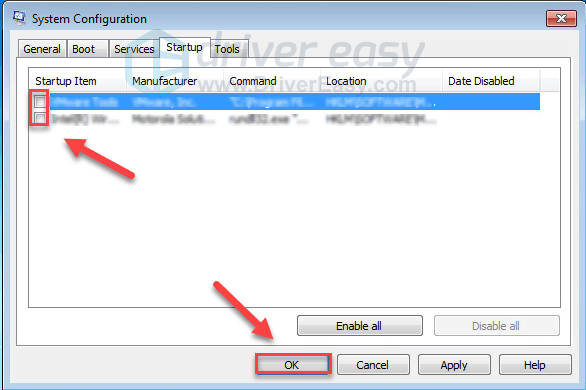
7) Click theStartup tab.
8) Uncheck the box next to the program that you want to prevent it from auto-launching, and then clickOK .
Only disable programs that you know that you don’t need to launch automatically at startup. You should keep your antivirus launching automatically for safety reasons.
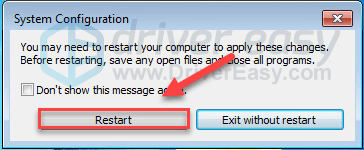
9) ClickRestart and wait for your computer to restart.
After your PC restarts, check if the issue has been resolved. If yes, you may need to re-enable important startups and services one by one to see which one is conflicting so you can keep it disabled.
If this doesn’t work for you, you shouldreset your computer to start normally.
If you’re on Windows 10…
1) On your keyboard, press theWindows logo key andR at the same time to open the Run dialog box.
2) Typemsconfig . Then, on your keyboard, press theEnter, Shift andCtrl keys at the same time to run System configuration as administrator.
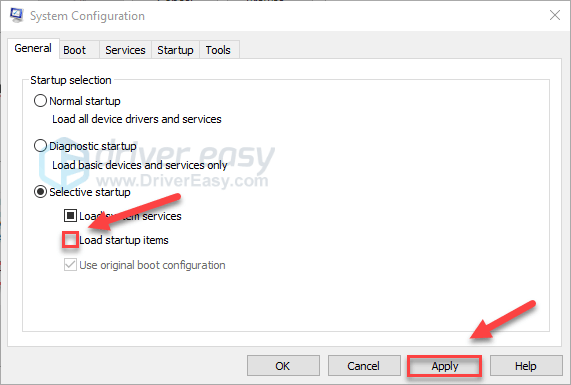
3) Uncheck the box next toLoad startup items . Then clickApply .
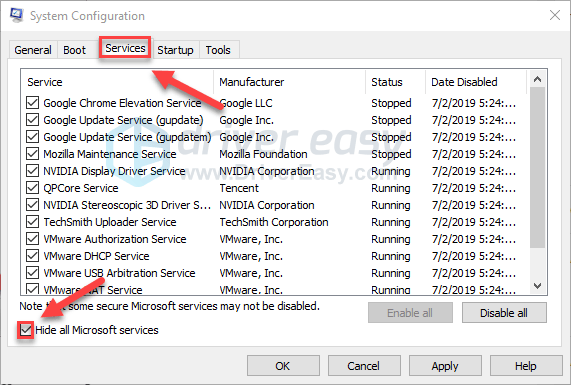
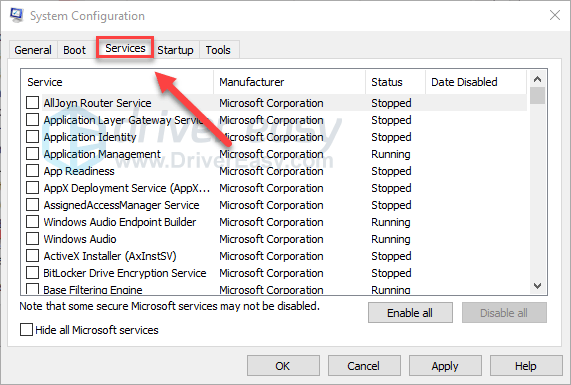
4) Click theServices tab, and then check the box next toHide all Microsoft services .
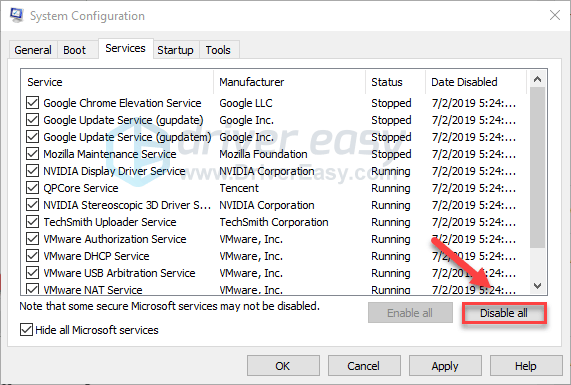
5) ClickDisable all .
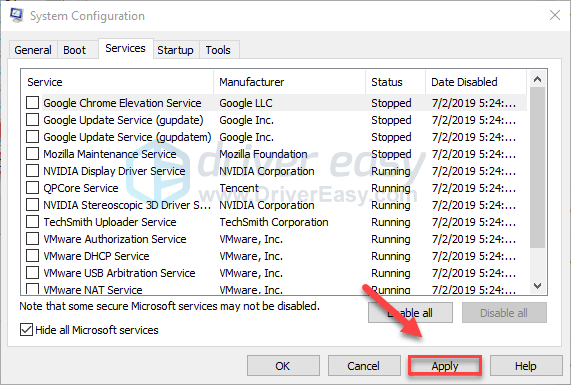
6) ClickApply .
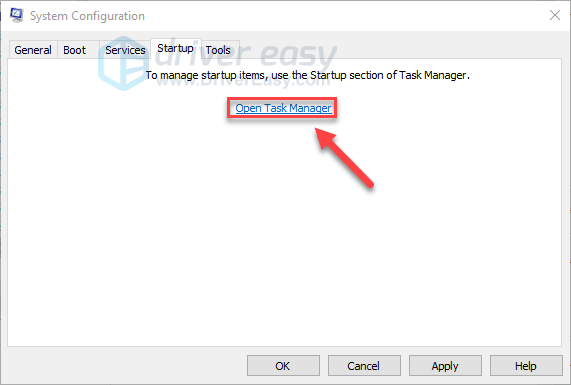
7) Click theStartup tab , then clickOpen Task Manager .
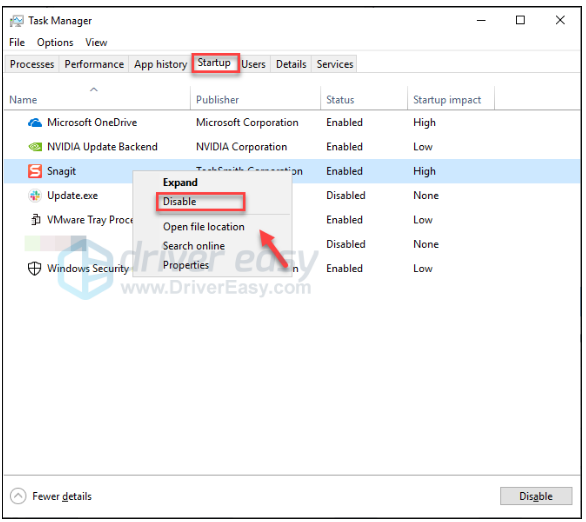
8) Right-click the program you want to prevent it from auto-launching and select Disable .
Only disable programs that you know that you don’t need to launch automatically at startup. You should keep your antivirus launching automatically for safety.
9) Restart your computer and check if this has resolved your problem.
If yes, you may need to re-enable important startups and services one by one to see which one is conflicting so you can keep it disabled.
If no, you’ll need to reset your computer to start normally. Follow the instructions below:
Reset your computer to start normally after clean boot troubleshooting
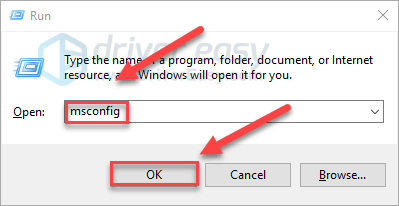
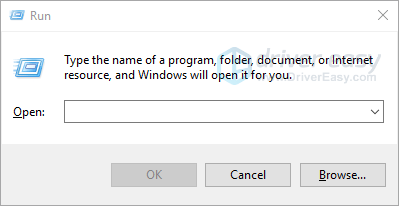
1) On your keyboard, press theWindows logo key andR at the same time to open the Run dialog box.
2) Typemsconfig and clickOK .
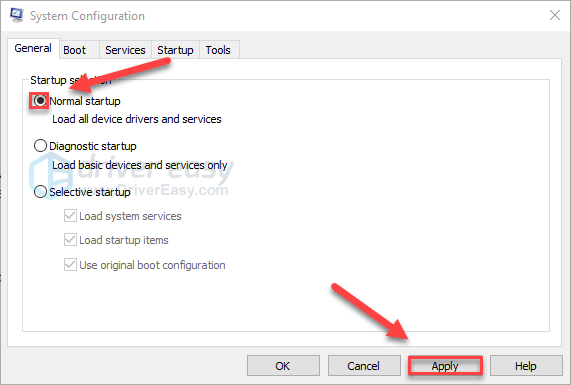
3) Click the button next toNormal startup, and then clickApply .
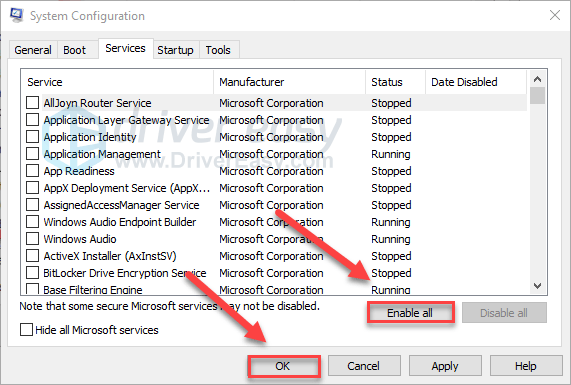
4) Click theServices tab .
5) ClickEnable all, then clickOK .
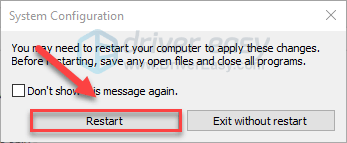
6) ClickRestart .
Your computer will start normally after you finish this step. If the clean reboot didn’t fix your problem, try the fix below.
Fix 5: Run the Command Prompt
Corrupted or damaged system files may also cause this issue. If that’s the problem for you, running the Command Prompt can help. Follow the instructions below:
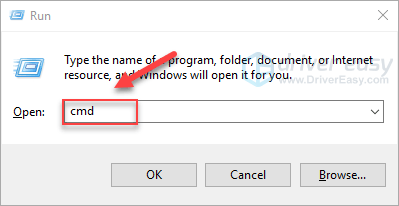
1) On your keyboard, press the Windows logo key and R at the same time.
2) Type cmd, then press the Ctrl, Shift and Enter keys at the same time to run the Command Prompt as administrator.
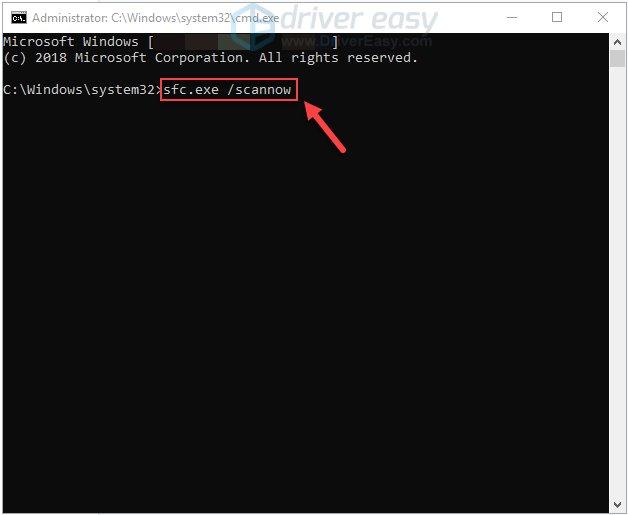
3) Type sfc.exe /scannow , then press the Enter key on your keyboard.
This process could take several minutes. Please wait for it to be complete.
4) Type dism.exe /online /cleanup-image /startcomponentcleanup , then press the Enter key on your keyboard.

5) Type dism.exe /online /cleanup-image /restorehealth , then press the Enter key on your keyboard.
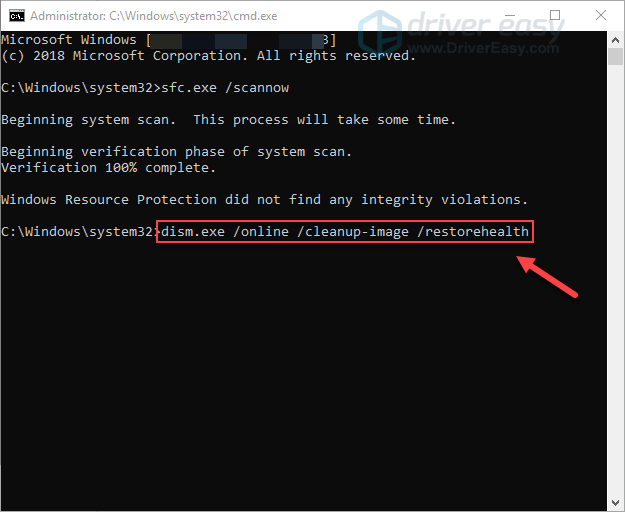
Wait for the process to be complete. Then, restart your computer to see if this fix worked for you.
Hopefully, this article helped in resolving your problem. Please leave a comment below if you have any suggestions or questions.
Also read:
- [New] In 2024, Unveiling Streams Comprehensive Guide to Facebook Video Harvesting
- [Updated] The Essential Guide to Photo Backdrop Removal in Picsart for 2024
- Bypassing Barriers in Upgrading to Windows 11 - Solving Error Code 80240020
- Download the Updated Intel Iris+ Graphics Drivers – Quick Installation Guide
- How to Enable Offline Files Feature on Windows 11 – Three Effective Ways
- Internet Explorer Won’t Open [SOLVED]
- Mastering Sound Control: Fixes for Unresponsive Volume Sliders in Windows 11 [SOLVED]
- Mastering the Art of Computer Repair: Key Strategies for Effective Maintenance
- Solving Common Problems in Windows 10 Using the System File Checker and DISM Utility
- Ultimate Tutorial on Eradicating Cryptomalware with MalwareFox
- Understanding Netflix Connectivity Issues - Is It Just You?
- Upgrading to Speed: The Ultimate Guide to Adding a Solid State Drive in PS5 Systems
- Title: Expert Tips for Repairing Broken USB Connections in the Latest Windows Operating Systems
- Author: Ronald
- Created at : 2025-01-20 19:30:32
- Updated at : 2025-01-22 21:18:51
- Link: https://common-error.techidaily.com/expert-tips-for-repairing-broken-usb-connections-in-the-latest-windows-operating-systems/
- License: This work is licensed under CC BY-NC-SA 4.0.