
Efficient Fixes for GeForce ShadowPlay's Unsuccessful Installation Dilemma
Quick Fixes for Common File Explorer Issues in Windows 11 - Get Expert Advice
Windows 10 renamed the original Windows Explorer (from Windows 8) toFile Explorer, and has added tons of new features to it. As an old-time Windows operating system user, you must know what it is for. In this post, we will be introducing some ways for you to get help withFile Explorerin Windows 10 easily.
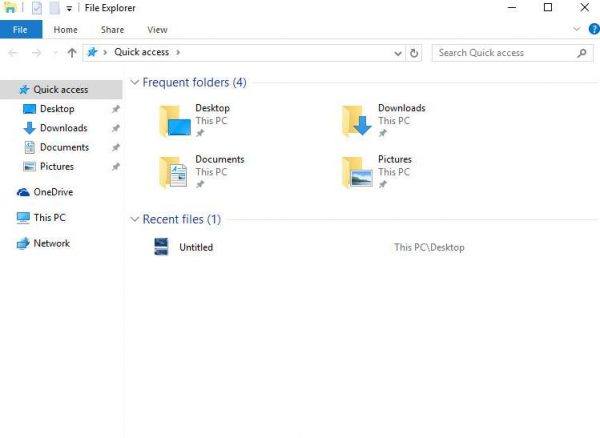
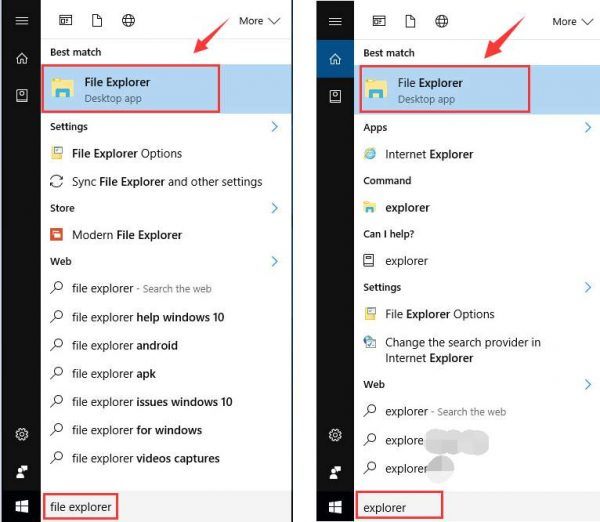
How to launch File Explorer in Windows 10 quickly? How to customize Quick access items? Windows 10 File Explorer not responding when right clicks? How to launch File Explorer in Windows 10 quickly? Usually, you can launch File Explorer by just typingexplorerorfile explorerin the search bar.
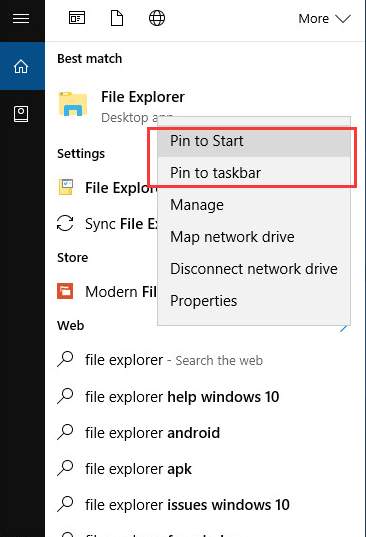
You can right click theFile Explorer option and choosePin to Start orPin to taskbar if you want to have a quicker access to it.
If you are more relied on your keyboard, here are some more shortcuts on keyboard that allows you to useFile Explorer quickly: Windows key + E: open File Explorer Ctrl + E: activate the search bar in File ExplorerAlt + left arrow key: go back to one folder in historyAlt + right arrow key: go forward to one folder in history Ctrl + mouse wheel Up or Down: increase or decrease the size of icons in File Explorer Ctrl + Shift + N: create a new folder How to customize Quick access items? If you want to add new quick access to the list on the left pane of File Explorer, here is how you can do it easily. Right click the desired folder and choosePin to Quick access.
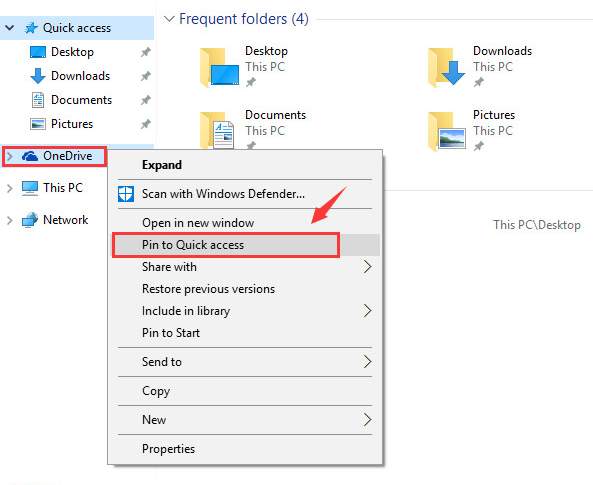
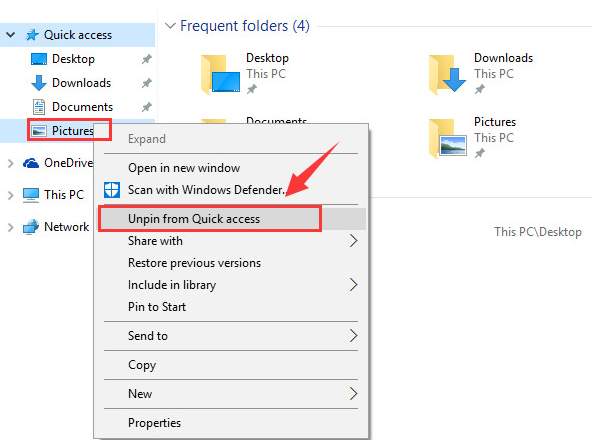
If you want to remove an item from Quick access menu, just right click this item and selectUnpin from Quick access .
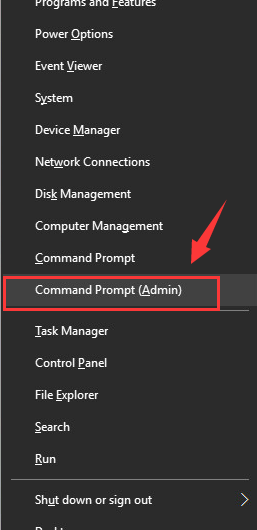
Windows 10 File Explorer not responding when right clicks? If your File Explorer is not responding when you right click it, you should follow the instructions below to get this problem fixed. 1) PressWindows keyandXat the same time, then choose**Command Prompt (Admin)**option from the list of choice.
- In the command prompt window, type in command:netsh, and then hitEnter. Then in the same window, type inwinstock resetand hitEnter.
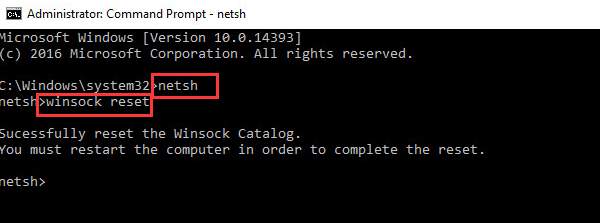
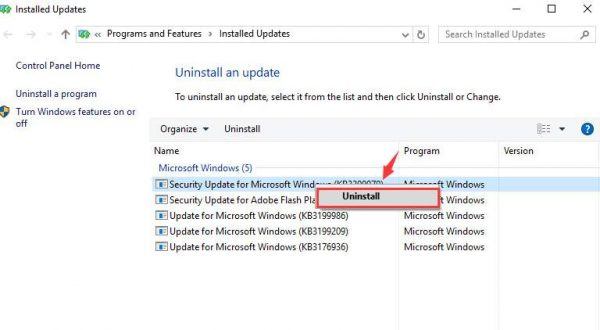
You can restart your computer when this operation is completed. 3) Follow the path:Start button > Settings > Update & security. Then one the left pane, chooseWindows Update, and on the right pane, chooseUpdate history.
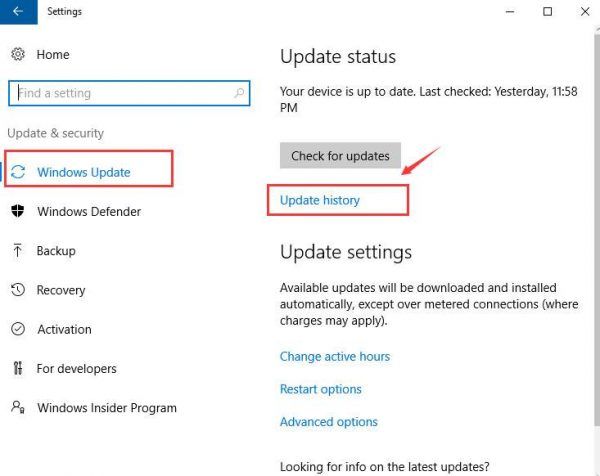
- Then chooseUninstall updates.

- If you can see updateKB3081449orKB3081448, right click it and chooseUninstall. Then restart your computer.
Also read:
- [New] In 2024, The Role of B Roll in Professional Editing
- [New] Instagram's Icons Navigating Through Its Leading 25 Stars
- [Updated] 4K Clarity Comparison Projectors vs Traditional Televisions
- AZ Capture Insights Apps Explored
- Descargar GRATIS Y Convertir Archivos De Audio Directamente Desde Tu Memoria RAM a MP3 Con Herramientas en Línea De Movavi
- Fixing 'Copy-Paste' Issues in Windows 11: Step-by-Step Guide
- How to Fix Access Denied File and Folder Errors on Windows
- How To Safely Eliminate Google Chrome's Critical Error Scam
- How to Transfer Photos From Vivo S17t to Samsung Galaxy S21 Ultra | Dr.fone
- In-Depth Analysis of the Logitech C920 Ultra HD Streaming Camera
- Logitech Unplugged: Resolved Mouse Malfunction
- Mastering Bluetooth Pairing with Windows 7 - A Detailed Walkthrough
- Resolve Your Laptop's Persistent White Screen Problem
- Step-By-Step: Correcting Dolby Home Theater Glitches on Windows 11
- Techniques for Escaping Facebook Tags
- Tom's Tech Hub: Expert Insights on the Latest Hardware Innovations
- Troubleshooting Tips: Overcoming Error 0xC1900208 During Windows 10 Updates

- Title: Efficient Fixes for GeForce ShadowPlay's Unsuccessful Installation Dilemma
- Author: Ronald
- Created at : 2024-10-19 21:39:28
- Updated at : 2024-10-24 22:02:29
- Link: https://common-error.techidaily.com/efficient-fixes-for-geforce-shadowplays-unsuccessful-installation-dilemma/
- License: This work is licensed under CC BY-NC-SA 4.0.